Tutorial
Video
Feel free to watch the video tutorial below. If you prefer written instructions, just keep reading for a step-by-step walkthrough of all the features.
Introduction
Creating a font with Calligro involves generating a font template, drawing characters in it, and then exporting a bitmap font. The template can be filled using a regular TTF font and/or by drawing in any graphics editor.
To see examples of how to use an exported font with different game engines and frameworks, check out the samples.
To get help or report issues, join the Ideas Almanac Discord server.
This is a tutorial for Calligro 2.4.0. See here for the tutorial for previous versions.
UI Overview
Create or open a project to get started. When a project is open, the UI is divided into three sections:
- Template Settings – defines the character set, size, and other properties that affect what you'll be drawing.
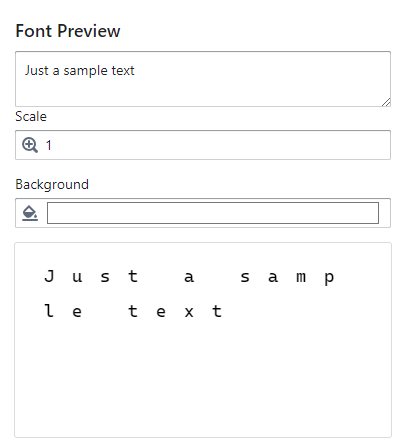
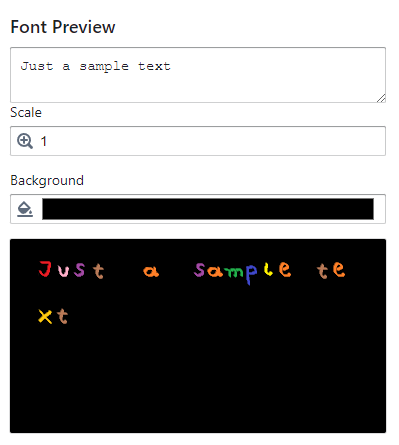
- Preview – shows a preview of how the font will look with the current settings.
- Font Settings – includes options that can be adjusted after drawing the characters.
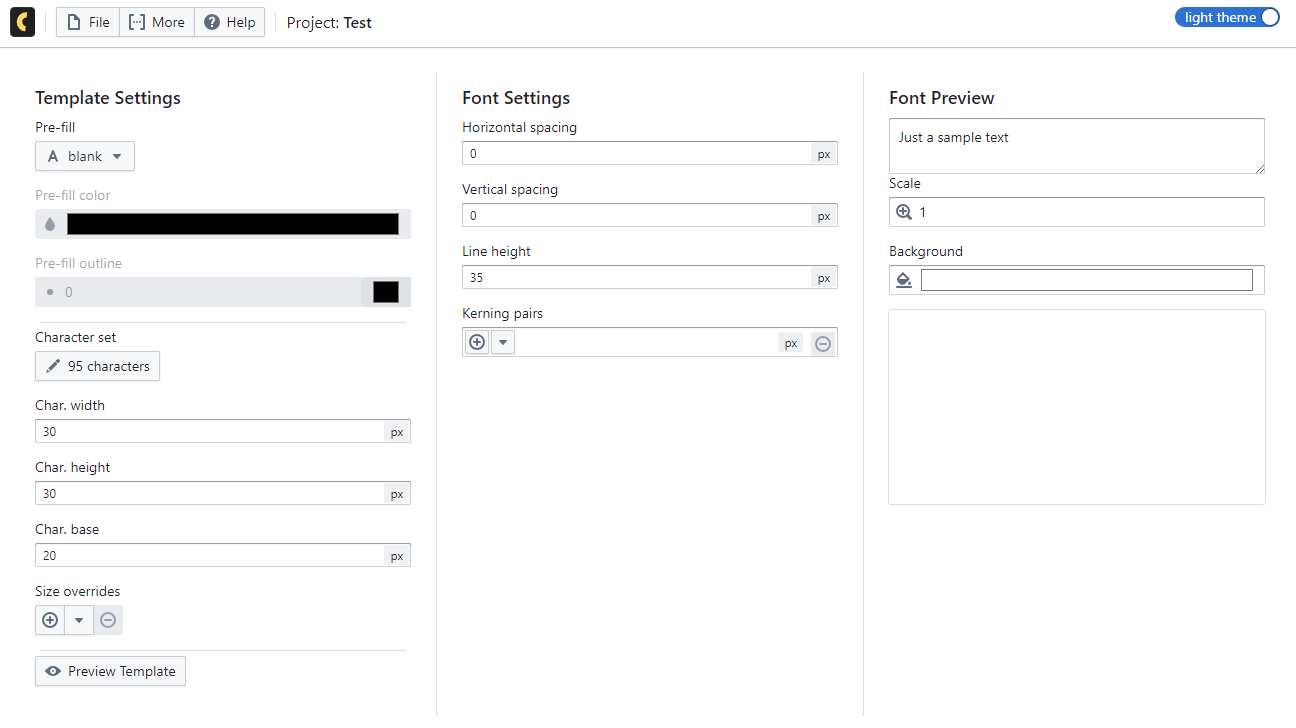
Template Settings
In Template Settings you define the template which is an image with blank spots where you'll draw your characters.
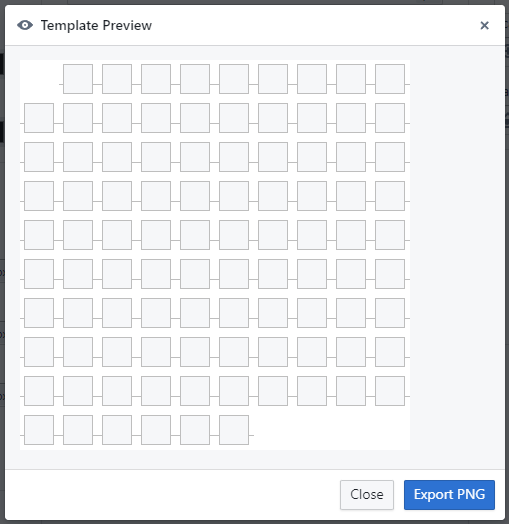
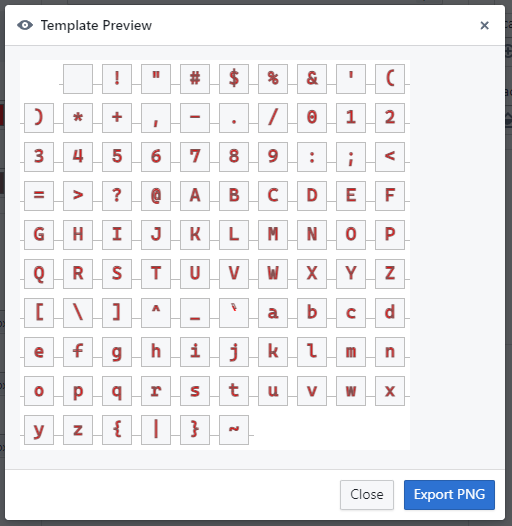
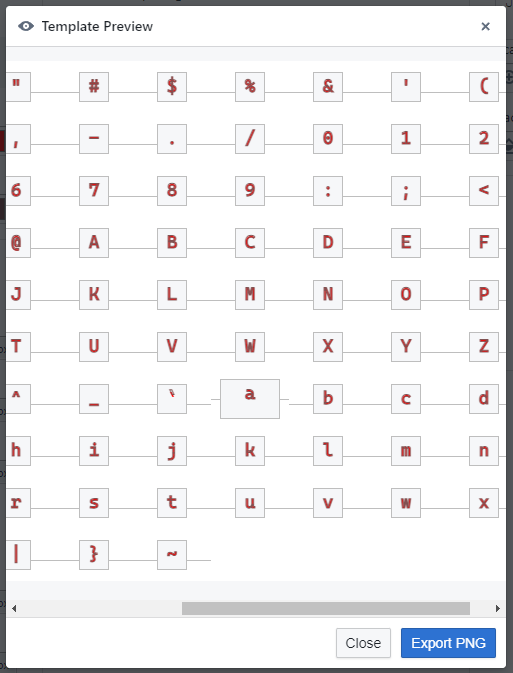
Press the "Preview Template" button at the bottom to see how it looks. For a new project, you'll see a grid of transparent squares. Each square corresponds to a different character (like "a", "b", "c", etc.), with 95 characters included by default.
Pre-fill Inputs
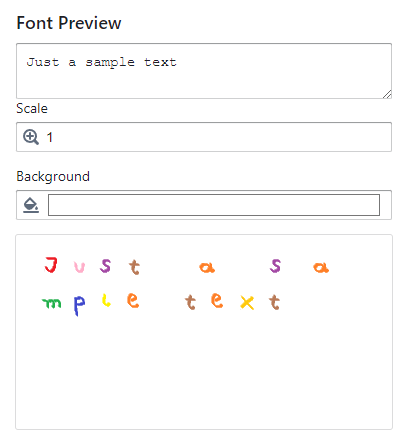
Close the preview and checkout the "Prefill" input at the top of Template Settings. It lets you choose a regular TTF font to prefill the template. Once you select a font, you'll immediately see a sample text preview.
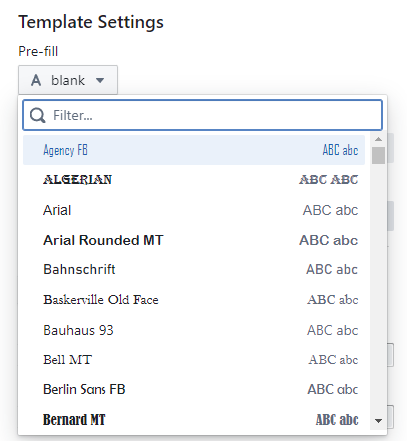
You can also adjust the font fill color, outline color, and outline width using the inputs below. When you're done, press "Preview Template" again to see the updated template with your chosen font and colors.
For technical reasons, in the web app the prefill dropdown only shows a limited set of commonly used fonts. The desktop app allows you to choose from any font installed on your system.
Character Set
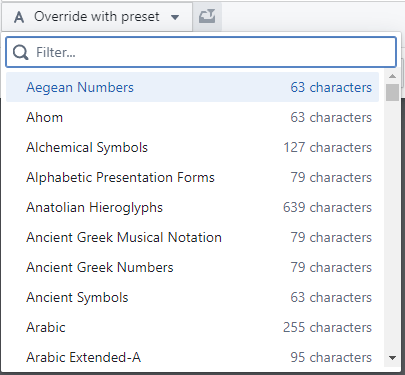
Below the Prefill input, you'll find the "Character Set" button. Click it to open a dialog where you can choose the characters to include in your template. You can enter any characters manually, or start from a preset like "Basic Latin" or "Hiragana" using the "Override with preset" button.

Emojis and other characters made out of multiple code points are not supported. You can however include any graphics you want if you assign them to characters you won't use otherwise.
Character Size and Base
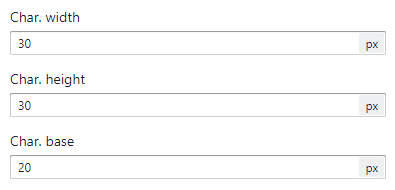
Below the character set input are the width, height, and base inputs. Width and height define the pixel size of each character.
The base sets the vertical position where the character "sits". Anything below the base will extend downward - like in "j" or "g". For example, a character with a height of 100 and a base of 70 will have 30 pixels of space below the base.
When previewing the template, horizontal lines between character slots indicate the base for each character.
Size Overrides
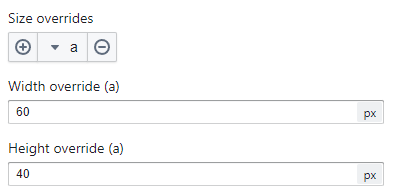
Below the size and base settings is the "Size Overrides" section. This lets you define custom sizes for specific characters.
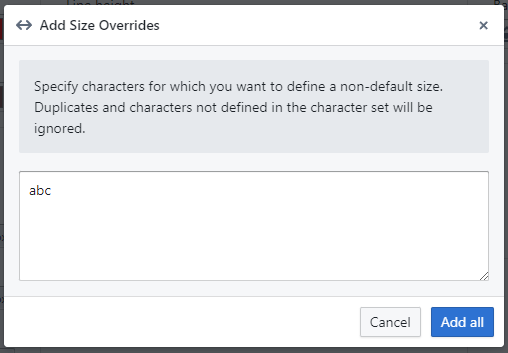
Click the "+" button to open a dialog where you can add characters to the override list. For example, enter "abc" and click "Add all" to include "a", "b", and "c".
Select a character like "a" from the dropdown next to the "+" button. Width and height inputs will appear. Modify them and press "Preview Template" to see the updated size in the template.
Exporting and Importing Templates
If you don't want to draw your own characters and only use the pre-fill option, you may skip exporting. If you want to draw your own characters, you'll need to export the template.
Exporting the Template
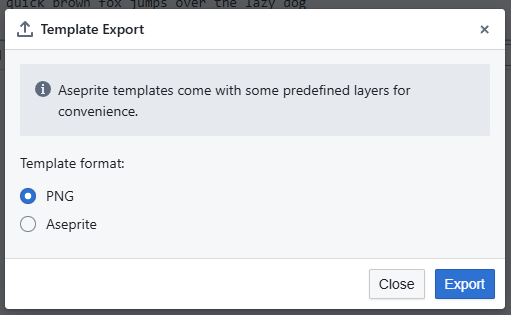
To export the template press "Export Template" at the bottom. You can choose either a PNG or Aseprite file format. Aseprite templates have the grid and the pre-filled font generated as separate layers.
You now have an image file that can be edited in any graphics editor. Remember the horizontal lines indicate character baselines. Once you're done drawing, import the file back into Calligro.
Importing Templates
In Font Settings notice a label that says "Current template: your-file-name". It means Calligro is aware of the file. Press "Reimport" to reload the file and see your changes in the preview.
If for whatever reason the label ever says "Current template: embedded in project", it means the template is currently stored in the project file and not linked to an external file. In that case press "Import New Template" to link a file to the project.
You can enable "Auto reimport on changes" next to "Reimport" to have Calligro automatically reimport the template whenever the file is modified.

After importing, Template Settings become disabled by default. It's best to ignore it from now on.
You can still make changes by checking "Edit anyway" at the top, but keep in mind those changes won't affect the font unless you export and import the template again.
Font Settings
Font Settings let you adjust additional properties like spacing, line height, and kerning. These can still be changed after the template has been imported.
Spacing and Line Height
Horizontal spacing defines the space in pixels between characters. If spacing is set to 0, characters will be directly adjacent to one another (as defined by the template sizes).
Line height is the vertical space between lines of text.
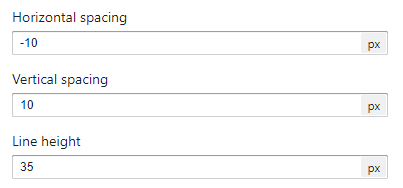
There's also a vertical spacing input. It's deprecated since Calligro 2.4.0. Use line height instead.
Kerning Pairs
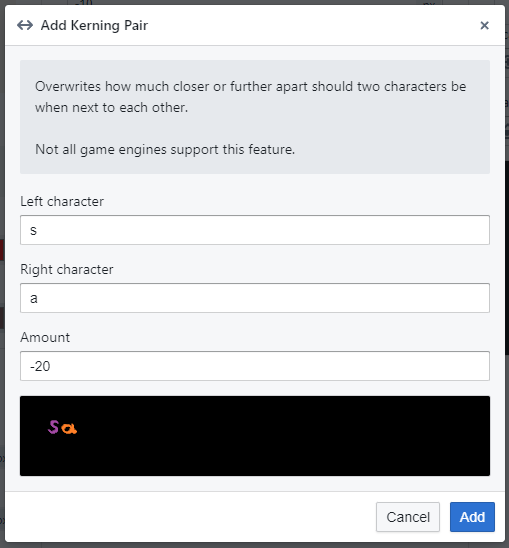
Kerning pairs let you define custom spacing between specific character pairs. For example, if you want "a" to be closer to "b" than "c", add a kerning pair for "ab" with a negative value. This value sets how much the second character moves relative to the first.
Altought kerning pairs are part of the BMFont specification, not all game engines support them. This is often not documented, so you may need to test if your engine supports kerning. Godot is known to support it.
To add a pair, click the "+" button next to the kerning pairs input. A dialog will appear where you can enter the characters and spacing. Click "Add" to save the pair.
You can specify multiple characters in the first and second character inputs to create multiple pairs at once. For example, entering "ab" in the first input and "cd" in the second input will create pairs for "ac", "ad", "bc", and "bd".
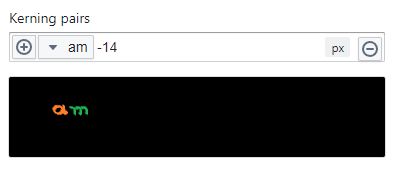
You can edit an existing pair by selecting it from the dropdown and adjusting the distance. To remove a pair, press the "-" button next to the dropdown.
Exporting a Font
Once you're happy with your font, export it by pressing "Export Font". You can choose between TXT and XML formats. Different game engines require different formats. Unfortunately, this often isn't documented, so you may need to try both.
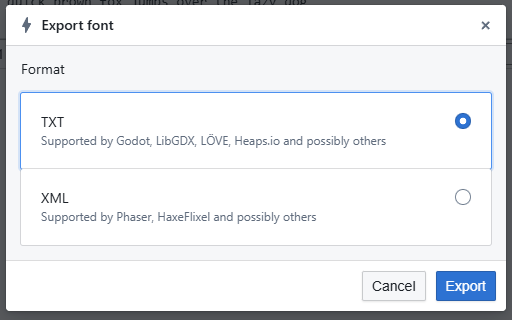
Some known examples:
| Godot | TXT |
| LibGDX | TXT |
| LÖVE | TXT |
| Heaps.io | TXT |
| Phaser | XML |
| HaxeFlixel | XML |
To see examples of how to use an exported font with different game engines and frameworks, check out the samples.
For subsequent exports you can press the "Rexport" button to quickly reexport the font to the same files.
To get help or report issues, join the Ideas Almanac Discord server.